YouTube is now one of the biggest hubs for content creators and consumers. We can find information on anything now. Want to learn how to cook a lasagna, how to play the saxophone, how to sing, dance, workout, you can discover the video for any content.
Users are logging in every day for answers and entertainment in the portal. And the creators are working hard to bring out videos, which answer their queries and entertain them.
Now, here is the big question.
How can I be a YouTuber?
Should I wait for perfect gadgets to create my first video?
How can I create videos without a laptop or desktop?
Well, the answer is simple.
If you own a smartphone, then you can be a YouTuber.
You can record, edit, upload your videos, all from your mobile device and shout out to the world. Below are the apps that can help you start your journey as a YouTuber today.
Recording
A built-In camera app would be my first choice to record videos. Because it will be more compatible with the phone’s software, and you will feel more comfortable using it.

Most of the phones now run with a high-quality camera and a variety of recording options. You can capture your videos in 60fps (Frames Per Second), 120fps, slow motion, time-lapse, etc.
Now, before you record, understand how your camera works. If you are a travel blogger, then you need to record videos in different formats and angles. If you are recording from home or a room, the requirement will change. So, test your camera beforehand in these conditions.
Also, the camera needs a pleasant light to capture quality videos. But if you have a camera with low light or night mode feature, then that’s a big plus to shoot at night.
There are many video recording apps in the app stores, but I would suggest using the built-in camera app for any beginner.
Stabilizing
If you are shooting travel videos, then gimbal would be a great option to stabilize your videos. But, if you are a beginner and only using your hands and legs as a gimble, we have a solution to make your video less bouncy.
Most of the phones now come with inbuilt stabilizers. But when we increase the fps, the stability might change. For example, when I used OnePlus 5 for recording, the video stabilization will be on in 30fps format, and off in 60fps. This function may vary in different phones.
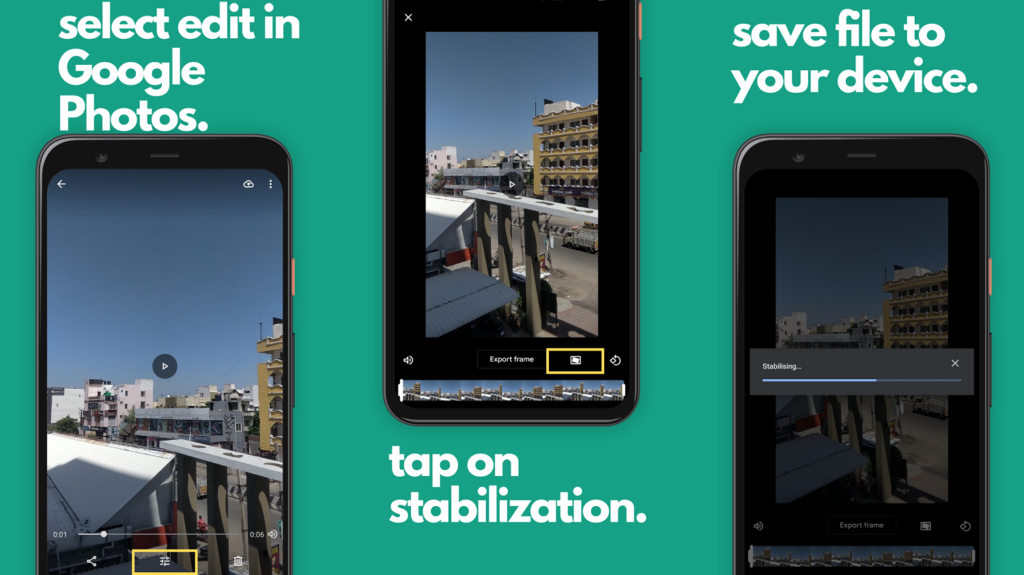
But if you have a shaky video, you can use the Google Photos app to smoothen your videos. The app gives you the freedom to not only store photos and videos but also edit and design.
Here are the steps on how to stabilize video.
Open Google Photo→Select Video→Click the customize button→Tap on the stabilization icon.
Once the process is complete, you can export or save the video into your local device.
Android, iOS
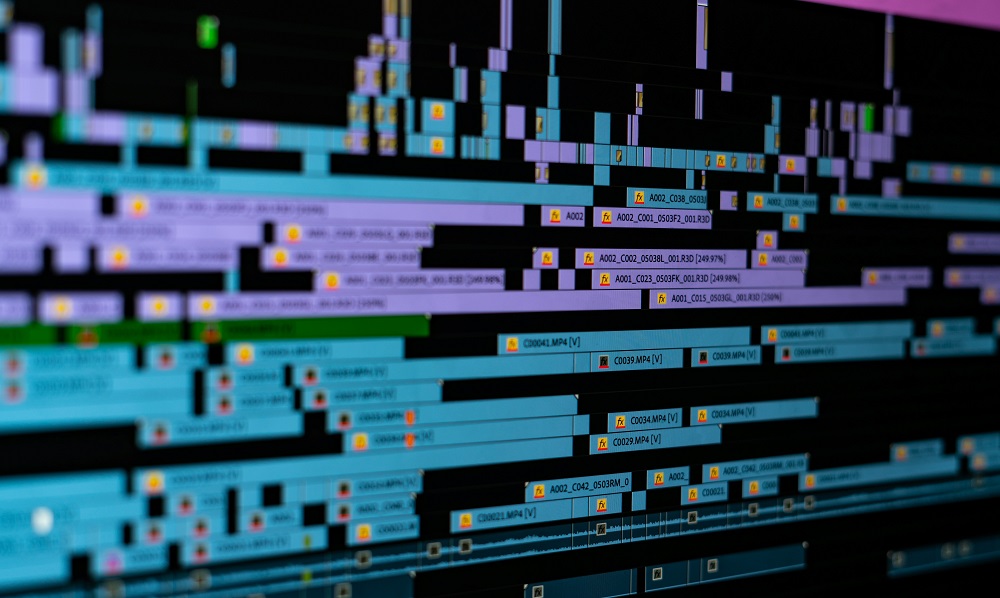
Editing
Editing is a time-consuming process. It takes time to design our ideas and edit the storyline. But finding the right app for creating content is necessary. That is because sitting continuously and making changes on a small screen will be tiring.
So, the first step should be to find the right app for you. The one you will be comfortable using and easy to navigate and edit. Well, I have merged the list of best editing apps tried and used for all your editing purposes.
Quik
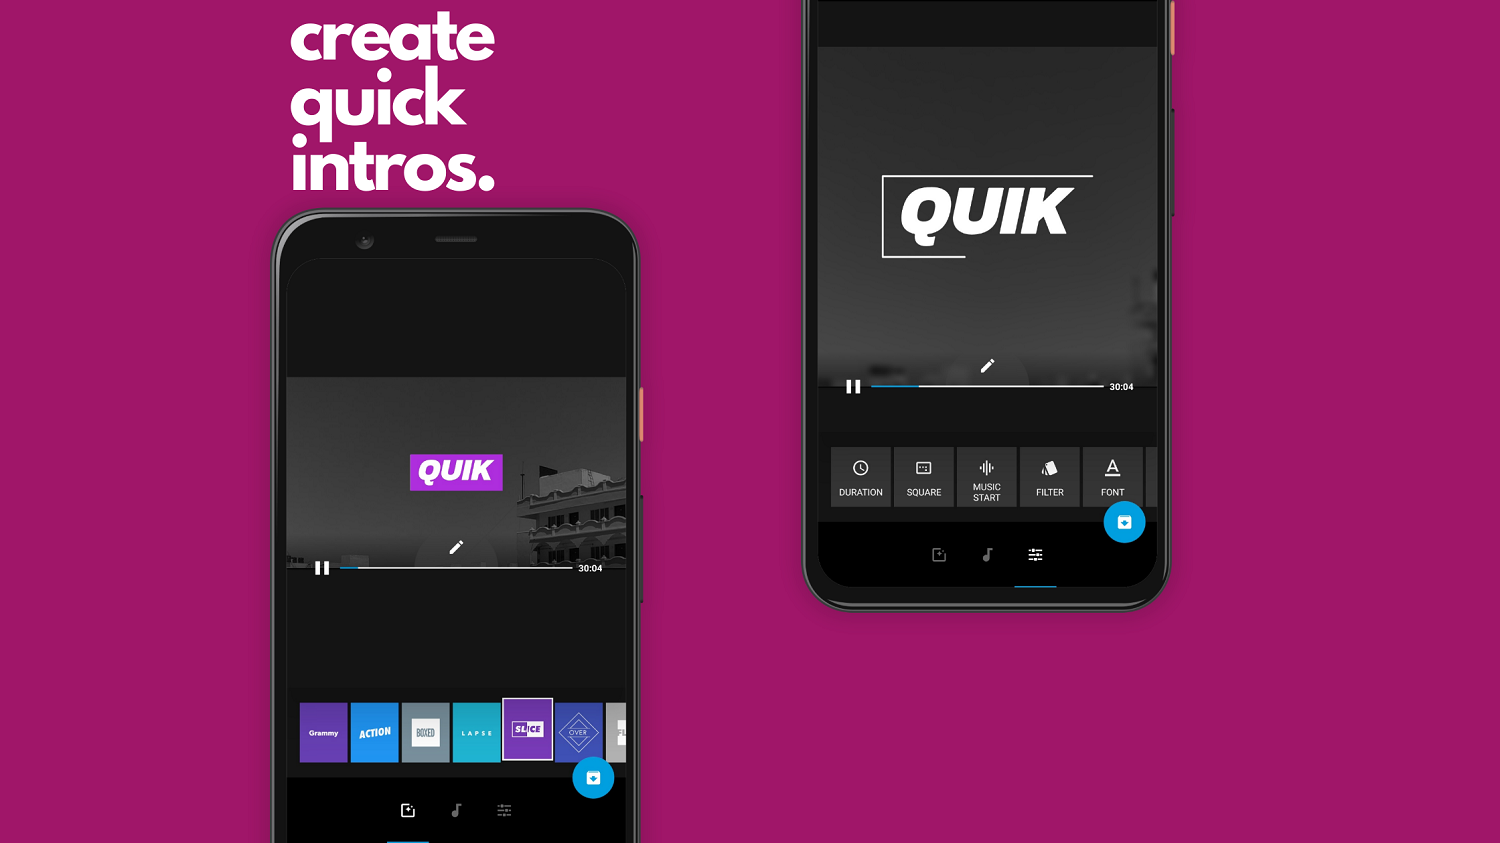
Just like its name, the app is quick. If you are looking to create a catchy intro for your video, this app is a must. Add any of your pictures or videos and let the magic happen.
You can also select different themes, add music, set duration, change project size, add a filter, and save it to your file right away. The app is free, and you can add or remove the watermark or the outro from the video.
You can also use this app to create short Instagram stories or posts.
Android, iOS
Inshot
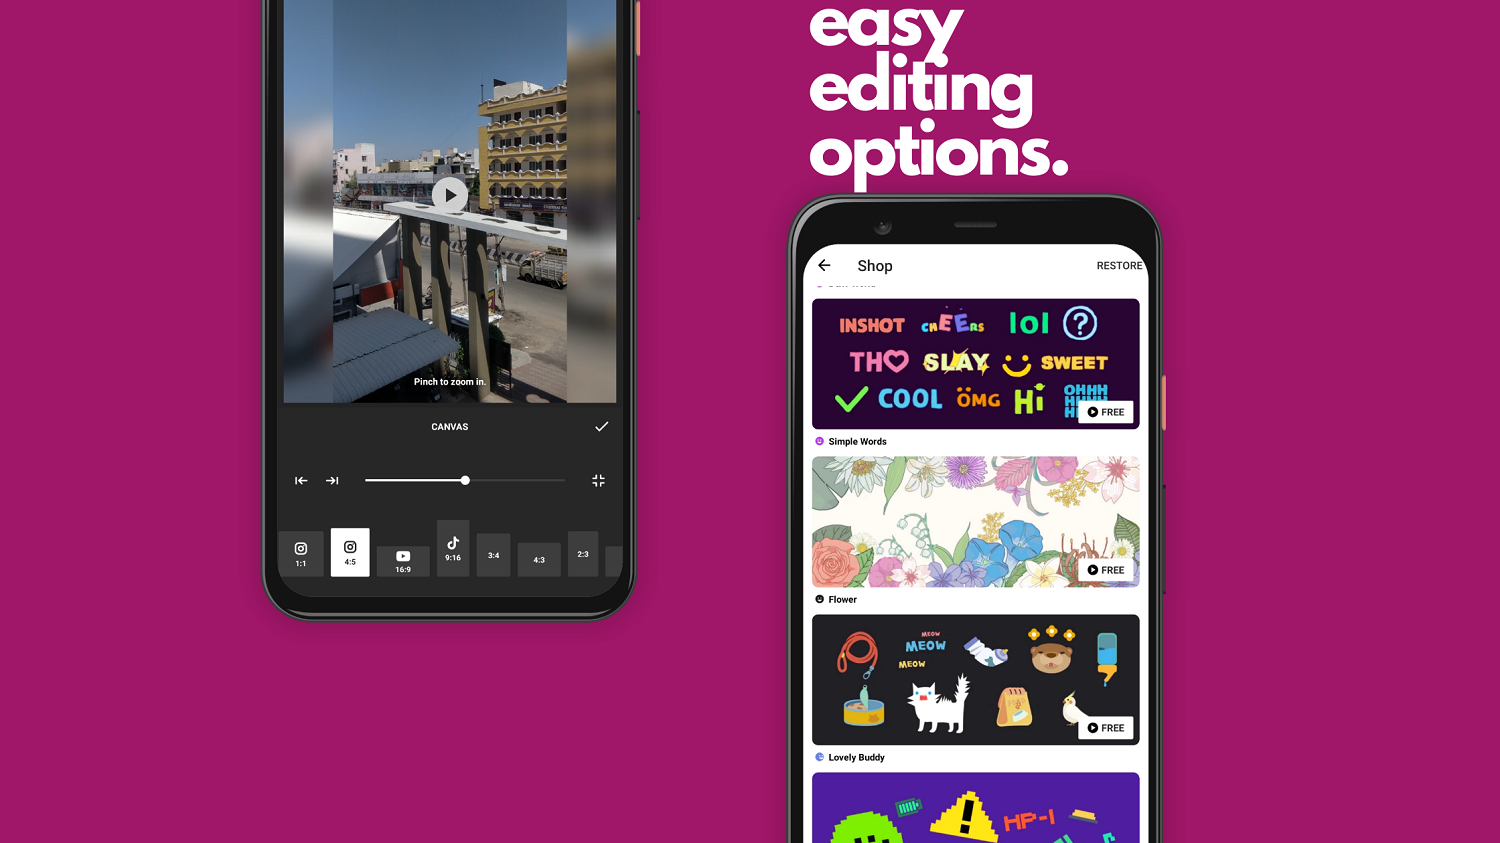
InShot will make your editing life simple. It is easy to use, and you can learn quickly. I created my first YouTube video using InShot and could get my first video ready to upload within 3 hours.
You can cut, trim, move your videos, add music, add a background, change the canvas size, rotate your videos, etc. It also gives options to add transitions between the videos.
InShot has a watermark in the output video, but you can remove it by watching a video or purchasing the pro version. Editing is fast, and you will get used to it once you use the app.
Android, iOS
KineMaster
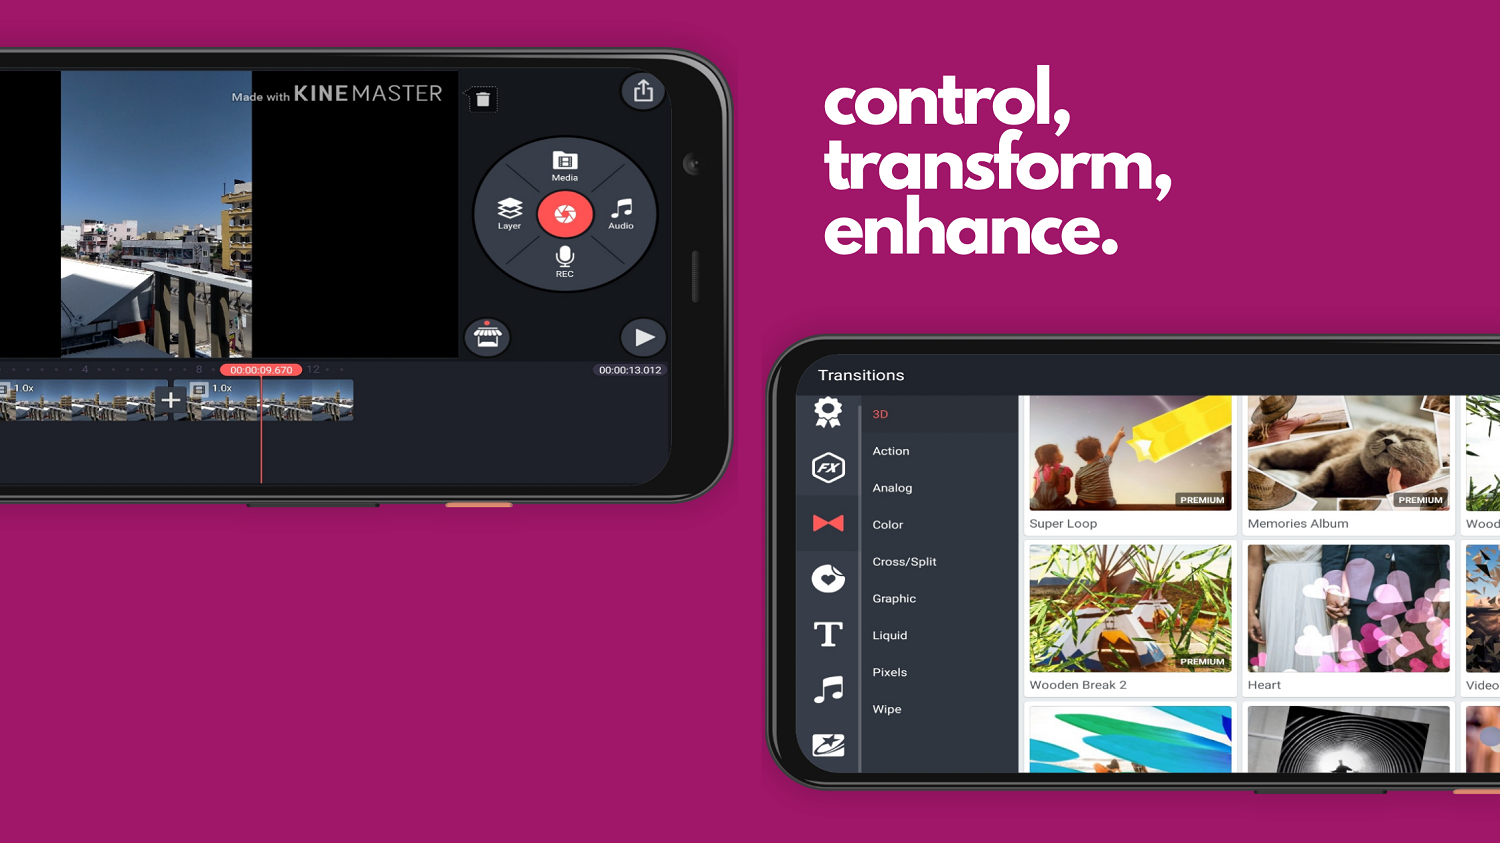
This app is for some serious editing. It will be a little difficult to catch up to it, but this app will help you in the long run. You can add multiple layers of video, effects, overlays, text, control sound, add animation, etc.
With KineMaster, you can add a cinematic look to your video by adding borders. It also has a split-screen option to play multiple videos at the same time.
There are a lot of tutorials available on YouTube to get a grip on editing using KineMaster. There are both free and premium versions available for this app.
Android, iOS
iMovie
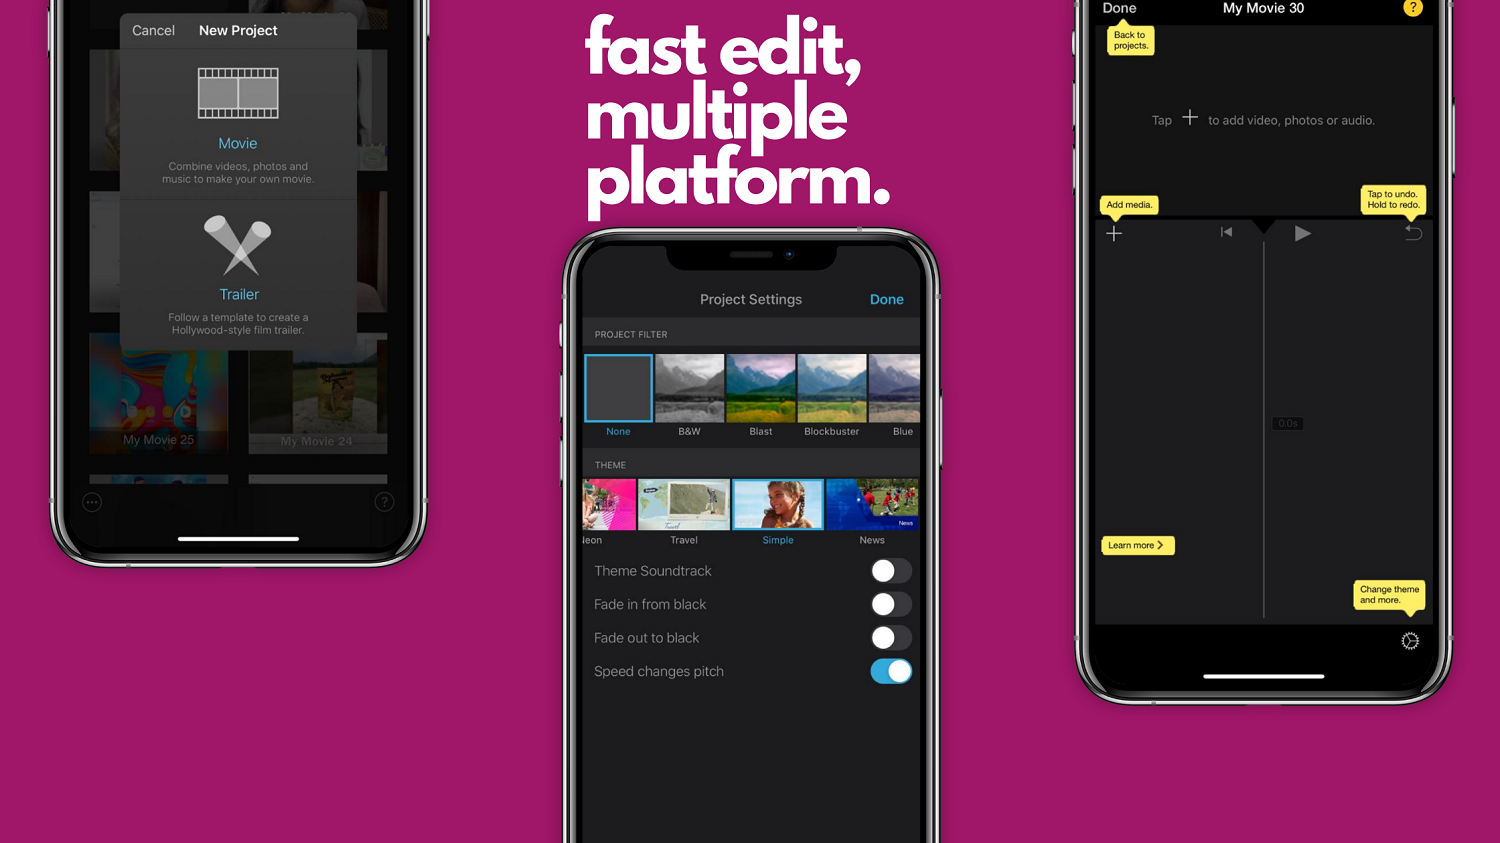
For iOS users, they can either use any of the apps mentioned above or use the iMovie. You can choose multiple themes and templates to make your video beautiful and cinematic.
Users can share the project from the iPhone to an iPad or a Mac using AirDrop or iCloud. With iMovie, you can add filters, split-screen effect, slow motion, fast forward, etc.
It is an iOS-only app and will not be suitable for Android.
iOS
Designing
Designing is important. We need good thumbnail or text formats to make our videos snappy or attractive.
But do we have any free software for that?
Yes, we do. Below are the two apps that can get you going.
Canva
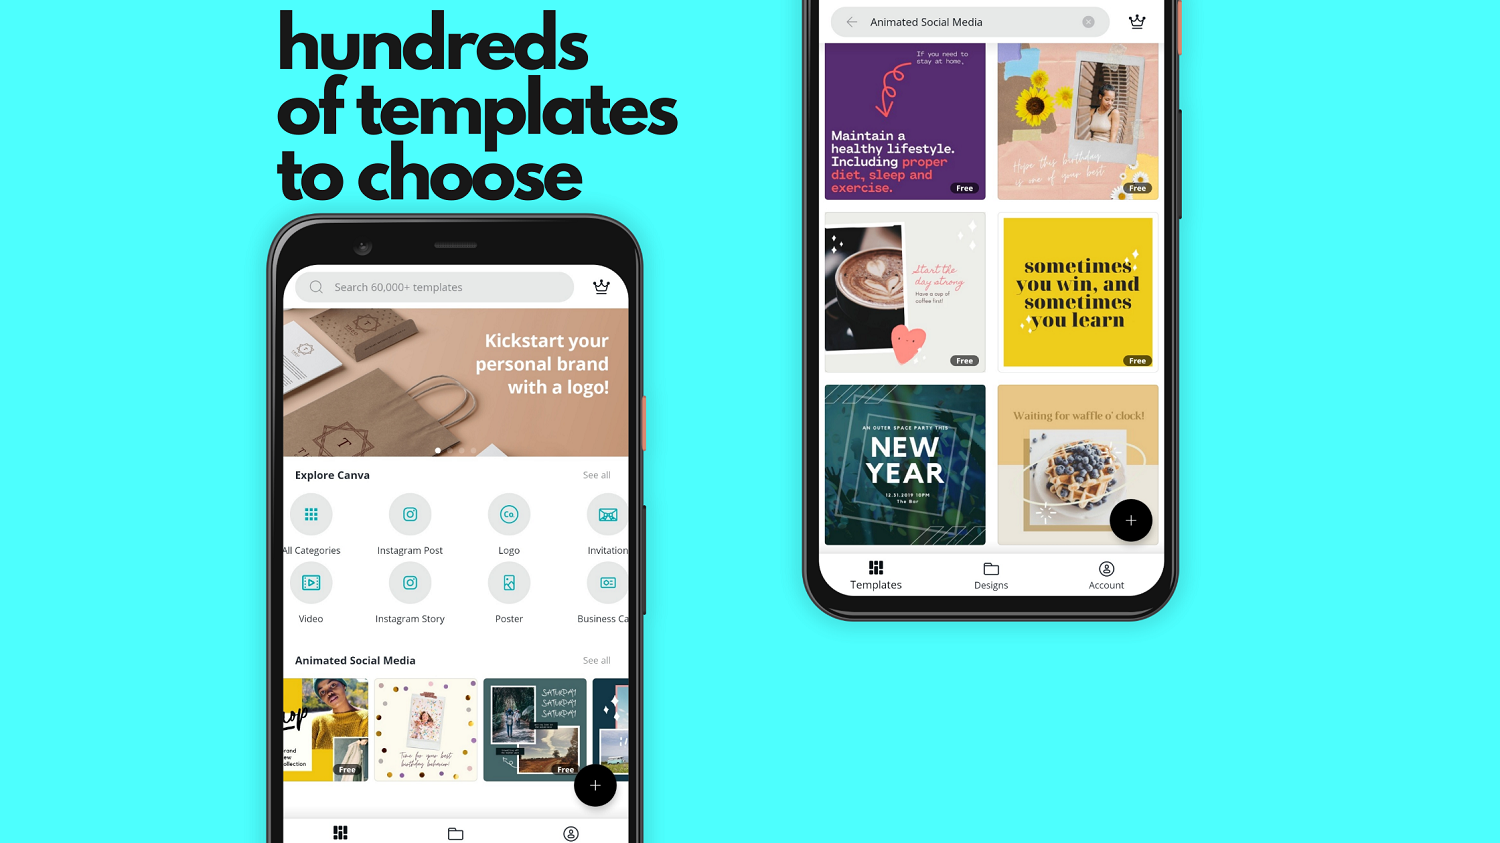
Canva is a mammoth. I can never understand how an app with so many capabilities and features be free. Yes, there is a premium option. But you can get all your work done in the free version.
Create posters, thumbnails, posts for social networks, and choose from hundreds of templates. If you are working on the Canva web version and got stuck because of some other activity, you can continue editing on your smartphone. The app syncs between many devices.
Canva also offers a variety of templates, or you can start editing from a blank page. It is one of the best application to get your designs in place.
Android, iOS
PixelLab
If you are looking to add custom texts on your videos or create a logo, PixelLab should be your option. You can create and export high-quality png files for free.
I use this app to create text overlays, page backgrounds, 3D text, stickers, etc. You can use fonts available in the app or upload custom fonts. Control the color gradients, shape, size, and texture of your project.
The app is free and runs on ads. You can watch tutorials on YouTube to get comfortable with this app.
Android
Uploading
The last step is uploading. You can upload directly from the YouTube app or use a desktop. On YouTube, tap on the plus icon and select your video. Here you can find many options like Create a Title, add a description, location, etc.
Tag You

While uploading, please consider filling up the Tags section. They will help you reach the content to a broader community. TagYou is an app that would help you boost your videos with social video tags.
You can either use keywords or use the uploaded video link to find tags for your videos.
Android
There are a few things you should consider before you edit on your smartphone.
- Having a stylus would make your editing easy. You can find good quality stylus pens at a nominal rate.
- Take breaks in between while editing because you will continually look at a small screen. It might give you a headache.
- Save your projects because even apps might crash.
- Check YouTube for free music. There are many pages like Audio Library, NoCopyrightSounds, Vlog No Copyright Music, etc. They are free to use, and you only have to add their credit to your video description.
I believe I have given out enough information. If you have questions, you can write under the comments sections.
Please share your thoughts and ideas. Also, the apps that helped you to overcome the video creation challenges.
Hey, I think kinemaster do not support 60fps and above.. Do Quik support that format?
Hi Anju,
Kinemaster can support 60fps. You need to make some changes to the settings.
Once you open the app, click on the gear icon or settings icon. Scroll down and tap Advanced and Experimental Settings. There you can find Allow Export Frame Rate up to 60fps and turn on the switch.
There is also a 240fps max setting available, but the app might crash when you render or export your video.
Also, Quik supports 60fps.